


Video Storyboard: What It Is and How to Make One
Every good video, from a 15-second Instagram ad to a brand film on your homepage, starts long before anyone switches on a camera. It starts with a sheet of paper covered in small boxes with rough drawings inside. That is the storyboard, and it is one of the cheapest and most effective tools in video production.
A storyboard lets you see the video before you shoot it: the order of the scenes, what appears in each frame, how long each moment lasts and what the viewer should understand and feel. It is also a communication tool. The business owner, the director, the camera operator and the editor all look at the same document and talk about the same video, instead of four slightly different videos that exist only in their heads.
In this guide we cover:
- what a storyboard is and how it differs from a shot list and an animatic;
- why a business needs a storyboard even for a short marketing video;
- what goes into a single storyboard frame;
- how to build a storyboard in 7 steps, using a coffee shop ad as an example;
- what changes for vertical video, animation and AI-generated video;
- which tools to use and which mistakes to avoid.
What a storyboard is and why you need one
A storyboard is a sequence of drawings that represent the frames of a future video. It turns the text of a script into a visual sequence. Put simply, it is the shooting plan in pictures, agreed in advance with the team and the client.
A storyboard helps you sharpen the visual idea. For example, you decide whether to show the main character in a close-up or keep them in a wide shot so the viewer also sees the surroundings. It also helps you plan the pacing: which moments deserve more screen time. In a coffee shop ad you have to decide how many seconds go to the barista making the drink and how many to a close-up of the bag of beans.
Once the visual decisions are clear, you can estimate what equipment you need and what it will cost. To show the city from above, you could fly a drone, license stock footage or create the shot in computer graphics. The team compares the cost of each option and picks the one that fits the budget, all before the shoot day rather than in the middle of it.
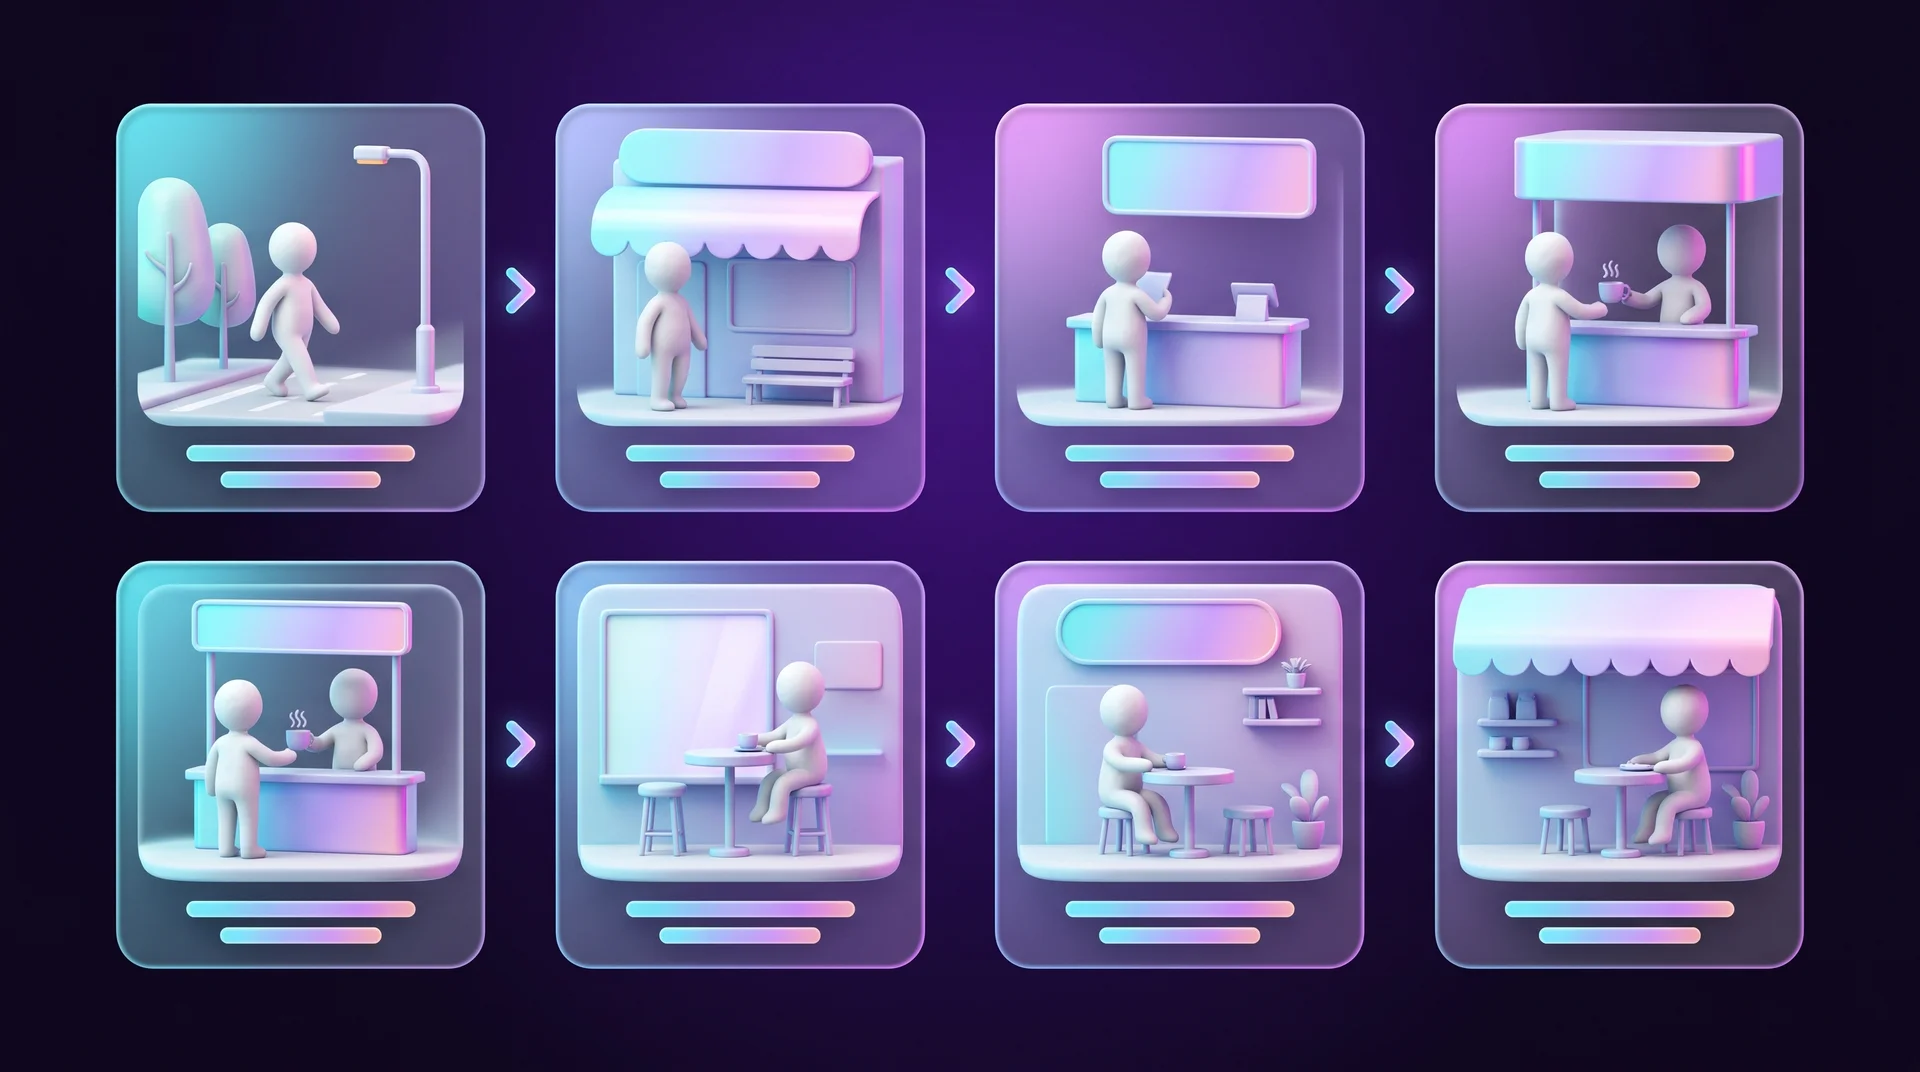
Storyboard, shot list and animatic: what is the difference
During pre-production, two more tools are used alongside the storyboard: the shot list and the animatic. Like the storyboard, they help you plan the work, but each one solves a slightly different problem:
- Shot list: a written list of the shots that need to be filmed, in order. It is the shooting plan in text form, and it is what the camera operator and producer work from on the day.
- Storyboard: the same plan, but in pictures. It shows what each shot will look like: what is in the frame, from which angle and what moves.
- Animatic: a rough draft video assembled from the still frames of the storyboard. You add durations, transitions and sometimes voice-over and music. This is how you check whether a scene reads clearly, whether it fits the running time and whether any moment drags.
You do not have to create these tools in a fixed order. The shot list is usually refined in parallel with the storyboard, and the animatic keeps being updated as the edit takes shape.
Why a business needs a storyboard for marketing videos
Storyboards are usually associated with film and television, but most videos that businesses produce today are short: social media ads, Reels and Shorts, a background video for a website hero section, a product explainer or a recruitment campaign clip. In these formats every second has a price, which is exactly why planning pays off.
Fewer surprises on set and in the edit
The most expensive arguments in production are the ones that happen on the shoot day or in the editing suite: "That is not how I imagined it." A storyboard moves those arguments to a stage where a fix means erasing a box and sketching it again. The business owner signs off on the idea before anyone pays for the crew, the actors and the location.
One clear message
When you draw the video frame by frame, you quickly see whether it is trying to say too much. A 20-second ad cannot show every benefit of your product. The storyboard forces you to pick one message and build the story around it, much like writing a good landing page, where one page has one job.
Fitting the platform and the media plan
A video for the Instagram feed, a YouTube ad and a background loop on your homepage are three different videos: different aspect ratios, different lengths and, often, viewing without sound. When you plan all the versions in the storyboard, you can shoot once and get material for every channel. If you are building an advertising plan, it is worth connecting the storyboard to your media plan at this stage, so the creative is designed for the placements you will actually buy.
What goes into a storyboard frame
Each panel in a storyboard, meaning each box with a drawing, shows a key moment in a scene. The panel number goes above it, the drawing goes inside it and the notes go underneath. The drawing should communicate the shot size and the camera angle, and the movement of the characters is marked with arrows. The notes cover dialogue or on-screen text, sound, camera movement and the estimated duration. For a simple scene, a drawing and a short caption are enough. Complex scenes need more detailed directions.
Composition, shot size and angle
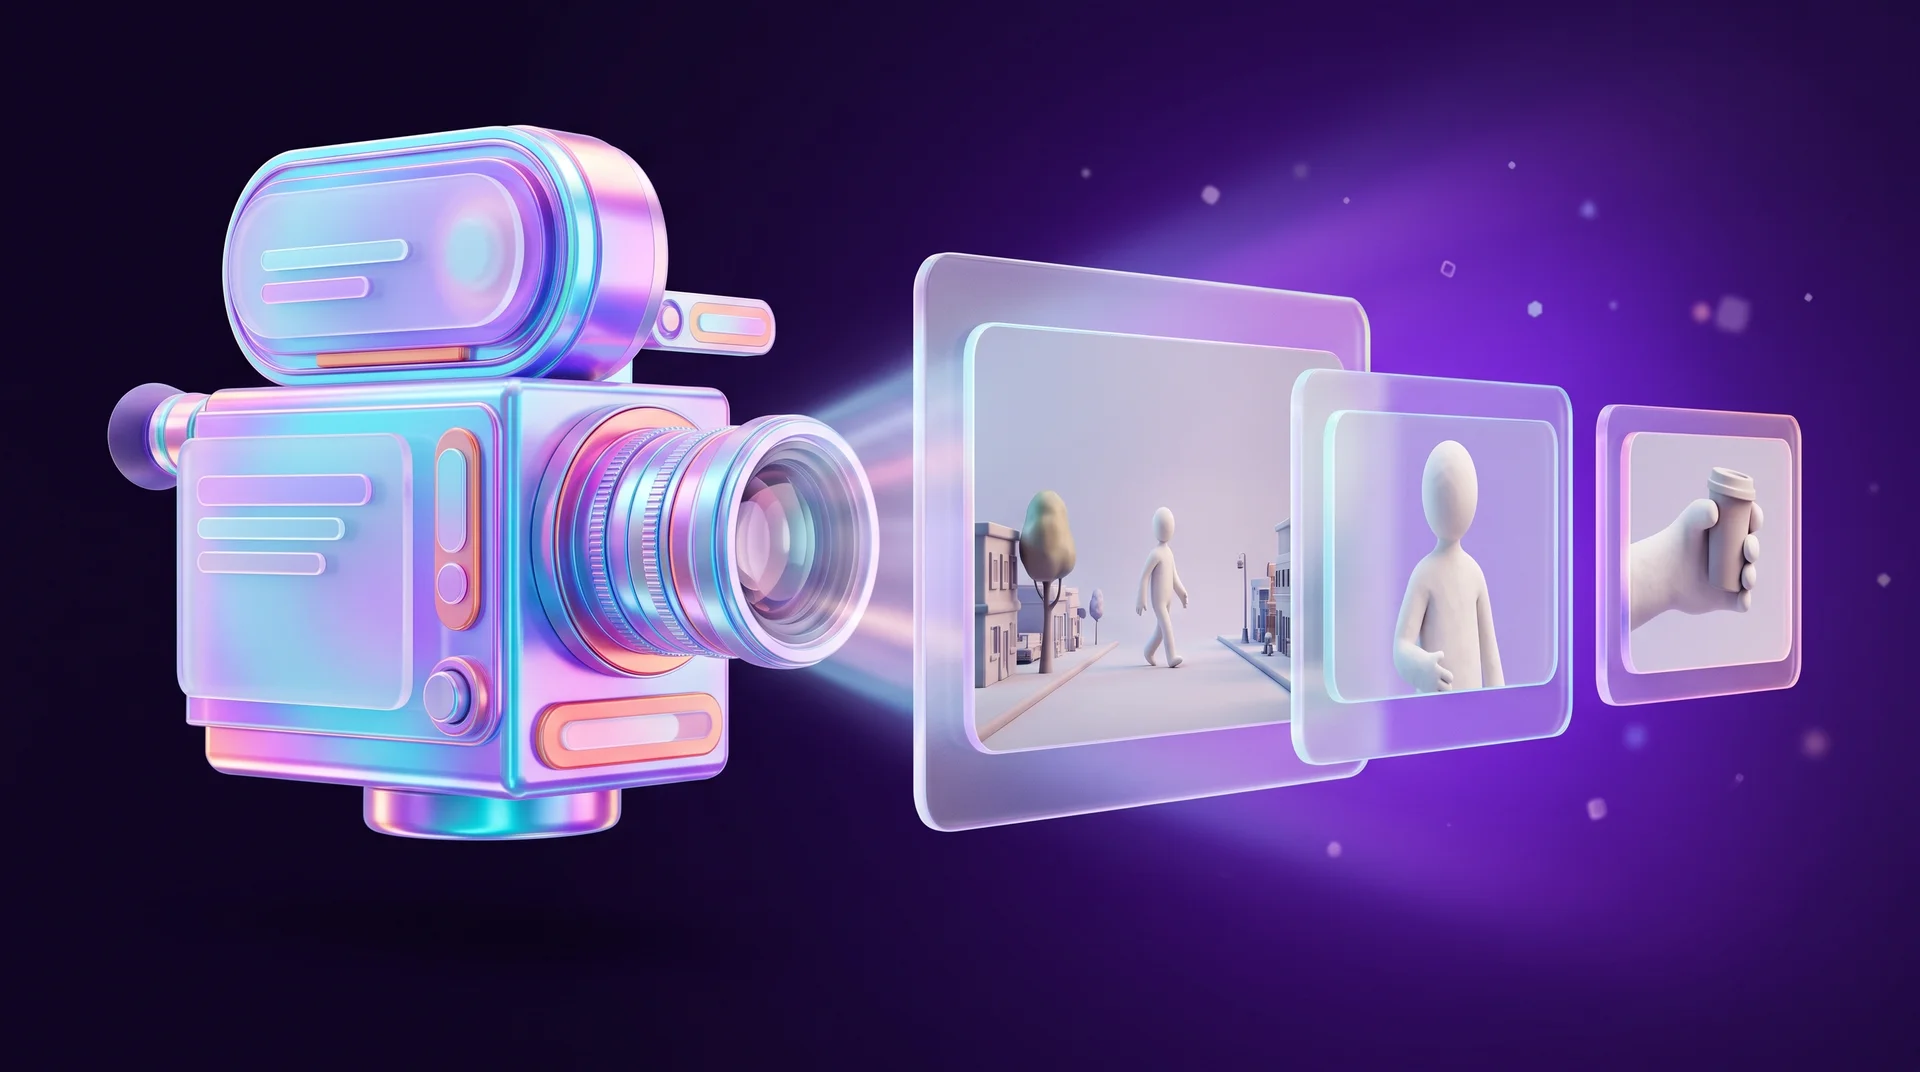
Composition determines where the characters and objects sit in the frame. Shot size sets the scale, and the angle determines the point from which the viewer sees the action. A wide shot shows the character together with their surroundings, a medium shot draws attention to what they are doing, and a close-up lets you see a face or an important detail. Shot size decides what the viewer notices first, which makes it a precise tool for directing attention. We go deeper into the principles of composition in our guide to composition rules in design.
Common abbreviations for shot size:
- WS (wide shot): the full scene and its surroundings;
- MS (medium shot): the character from roughly the waist up;
- CU (close-up): a face or a single detail.
Camera and character movement
Every movement related to a character is marked with an arrow: when they enter the frame, leave it, or when the camera follows them. Arrows can also show the direction of a glance or the movement of a hand. If a scene has several characters, it is important to respect the "line of action", an imaginary line that runs between them. The camera usually stays on one side of that line (the 180-degree rule) so the viewer does not lose their sense of space.
Common abbreviations for camera movement:
- PAN: the camera rotates sideways on a fixed point;
- TILT: the camera tilts up or down;
- ZOOM: moving closer or further away using the lens;
- DOLLY / TRACK: the camera itself moves forward, backward or sideways.
Text, sound and timing
If the video has dialogue or voice-over, write it next to the panel or in a separate column. This is also where you note music and sound effects, such as a phone ringing or a door creaking. Next to each panel, note an estimated duration, so it is clear how much time each shot and each action gets. In marketing videos, this is also where you add captions and on-screen graphics: a price, an offer, a website address.
How to make a storyboard: step by step
The point of a storyboard is to show what happens in each frame, so that anyone can picture the video from the drawings. You do not need to draw well and you do not need professional software. A script, a pencil and some paper are enough to start.
Step 1: Prepare the script and define the goal
Before you start drawing, read the script and answer a few questions: what happens in the video, where, who is involved and what the viewer should understand or feel. For a marketing video, add two more questions: what should the viewer do after watching, and where will the video be shown? This is also the moment to fix the running time.
Say you are shooting a 20-second ad for a neighbourhood coffee shop. A tired hero is rushing to work, notices the coffee shop, walks in and orders an iced coffee. The barista replies, with a dead-serious face, that there is only espresso left. Sad music, the hero is crushed. Then the packshot appears, the closing frame with the logo and the message, and the voice-over says: "Got you worried? We have a new winter menu, and all hot drinks are on offer."
So you need to show: the street, the thoughtful hero, the coffee shop sign, the hero at the counter, the coffee being made, the barista and the packshot.
It also helps to decide early on how the video will be edited. You can go for a dynamic edit with sharp cuts between shots and actions (jump cuts), or film the whole scene in one continuous take. In that case, the storyboard shows the stages of one movement rather than separate shots.
Step 2: Break the scene into actions and shots
Write down the main actions in the order the viewer will see them. A new shot is needed whenever the camera position, the shot size, the key action or the focus changes. A wide shot of the coffee shop can cut to a close-up of the cup. You do not need a panel for every second: one continuous action can last several seconds and still be a single shot.
Step 3: Draw the first sketches
For each shot, draw a rectangle in the video's aspect ratio: 16:9 for horizontal video, 9:16 for vertical video, or 1:1 and 4:5 for the feed. Inside it, mark the characters with simple shapes and the objects with outlines that are easy to recognise.
At this stage, what matters is showing where the hero stands, where they are looking and what they are doing. Do not waste time on faces, clothes and design details. If drawing is hard for you, use photos of the location instead. Some storyboard software includes libraries of ready-made characters, objects and backgrounds that you simply place in the frame.
A tip if you do not have much experience: before the real shoot, film a quick "pre-shoot" on your phone with friends or colleagues standing in for the actors. It helps a lot when you are planning complex camera moves or scenes with many people in the frame.

Step 4: Refine composition, shot size and angle
Check whether the main action is clear from the sequence of drawings, and whether each drawing makes it obvious where the attention should go. In the coffee shop example, a wide shot shows the street and the coffee shop, a medium shot shows the hero at the counter, and a close-up shows the cup the barista hands over and the hero's facial expression.
Also pay attention to how neighbouring shots connect. If the hero walks from left to right, keep the same direction in the next shot, otherwise the viewer may think the character has turned around. If an important object gets lost in the drawing, try moving the camera closer or changing the angle.
Two editing principles are worth remembering. Dialogue is usually filmed over the shoulder of the other person, otherwise the viewer does not feel that the characters share the same space. And then there is the Kuleshov effect: viewers interpret each shot in relation to the shots around it, so the same shot placed in a different context or order takes on a different meaning.
Step 5: Add movement, sound and duration
Use arrows to mark the movement of the characters and the camera. An arrow pointing right shows where the hero is walking, and the note PAN shows that the camera turns to follow them. If a mark could be read in two ways, add a short explanation.
Under the panels, write the dialogue, important sounds and music, plus an estimated duration for each shot: three seconds for the sign, two for making the coffee. The packshot can take up to a fifth of the running time, depending on how much information it carries: the viewer needs enough time to see it and read a short line of text.
Add up all the durations and check whether the story fits the running time. If it does not, decide what to cut. And remember: things will change on the shoot day, and the final shape of the video will be decided in the edit. The storyboard's job is to be an anchor document that everyone can find their way around.
Step 6: Assemble the storyboard sheet or digital project
Arrange the drawings in the order they will appear on screen and give each panel a scene and shot number, such as 1.1, 1.2, 1.3: the first digit is the scene, the second is the shot. If you add a drawing later, it is easy to find the rest and renumber.
Keep the terms straight. A scene is a part of the story that usually takes place in one location and one stretch of time. It can contain several shots, the continuous pieces of footage between edit cuts. A panel is a single drawing in the storyboard, and sometimes one shot needs several panels, for example to show a camera move.
On paper, place several panels on a page and leave room for notes. In software, you can reorder panels by dragging them. Export the finished storyboard as a PDF and send it to the team, or print it for the set.
Step 7: Review the sequence and get team sign-off
Go through the storyboard from start to finish without looking at the script. Is it clear where the action takes place, why the hero moves to the next location, and is any important moment missing?
You can also show the drawings to someone who has not read the script and ask them to tell you the story. If they cannot work out how the cup ended up in the hero's hand, you probably need to add a shot of the barista handing over the coffee.
Then review it with the team and the client. Everyone looks at it from their own angle: the camera operator may suggest a more practical angle, the producer will notice that a particular shot needs expensive equipment, and the marketing manager will check that the message and the brand come through. That is exactly what a storyboard is for: changing a drawing is far easier than changing the plan halfway through a shoot day.
Storyboarding vertical video for social media
Most marketing videos today are watched on a phone, in portrait mode, while scrolling. That changes several things in the storyboard:
- The hook in the first seconds. The first panel is the most important one: it has to stop the scroll. Plan it separately and show the problem, the product or a surprising moment right away.
- A 9:16 vertical frame. A narrow frame leaves no room for a wide shot full of detail. Rely more on medium shots and close-ups, and keep the action in the centre.
- Safe zones. At the top and bottom of the screen, the platform overlays the username, the caption and buttons. Mark these zones in the storyboard and keep text and product out of them.
- Viewing without sound. Many people watch videos with the sound off, so plan captions and make sure the story works from the picture alone.
One storyboard can serve a whole series of videos. When it is connected to a social media content plan, it is easy to plan a single shoot day that produces videos for several weeks.

Storyboards for live action, animation and AI video
Every storyboard has the same purpose: to show how the action will unfold on screen. But depending on the type of production, you focus on different details.
Live-action video
In a live-action video, the storyboard helps you plan the work on set. You take into account where the actors stand, the features of the location, the props, the shot size, the angle and what the camera can do.
If the hero runs down a narrow corridor, you need to decide in advance where you film them from: the front, the side or behind. That determines where the camera and lights go, whether there is enough room for the equipment and how the actor will move.
Animation and explainer videos
In animation, you do not have to adapt to a real location, but you do need to plan the characters' movements in detail, even when the characters are imaginary. That is why animation storyboards put more emphasis on key poses, changes in facial expression and transitions between actions. A character who spots danger, freezes, turns around and starts to run: each of these moments can get its own panel.
In explainer videos and motion graphics, the storyboard also describes which graphic elements come in and go out, how the text appears and how the icons sync with the voice-over. You will find more about the tools and uses of this field in our guide to motion design for business.
AI-generated video
AI video generators such as Google Veo, OpenAI Sora, Runway and Kling can now create short clips from a text prompt or an image. It might seem that they make the storyboard unnecessary, but in practice the opposite is true. An AI generator creates one shot at a time, and it does not know what comes before or after. The storyboard is what ties those shots together into one story.
In an AI project, every storyboard panel becomes a prompt: what is in the frame, shot size, angle, camera movement, lighting and style. Keep a fixed description of the character and the style across all prompts, and use a reference image, so the hero looks the same in every shot. Treat the storyboard as the single source of truth: when a generated clip does not match its panel, you regenerate the clip, not rewrite the story.
Storyboard tools and software
The simplest tool is a pencil and paper. That is enough to sketch the shot sequence and think through composition and movement, and many professionals still start this way.
Graphics editors
The next step up is a graphics editor such as Photoshop, Procreate or Clip Studio Paint. You can draw by hand, work in layers, drop in photos and fix a single element without redrawing the whole panel.
Collaboration and design tools
In Figma, FigJam and Canva you can build a storyboard template with frames, drag in images and work with the client through comments. This is especially convenient for marketing videos, where many frames are based on product photos, website screenshots and brand graphics.
Dedicated storyboard software
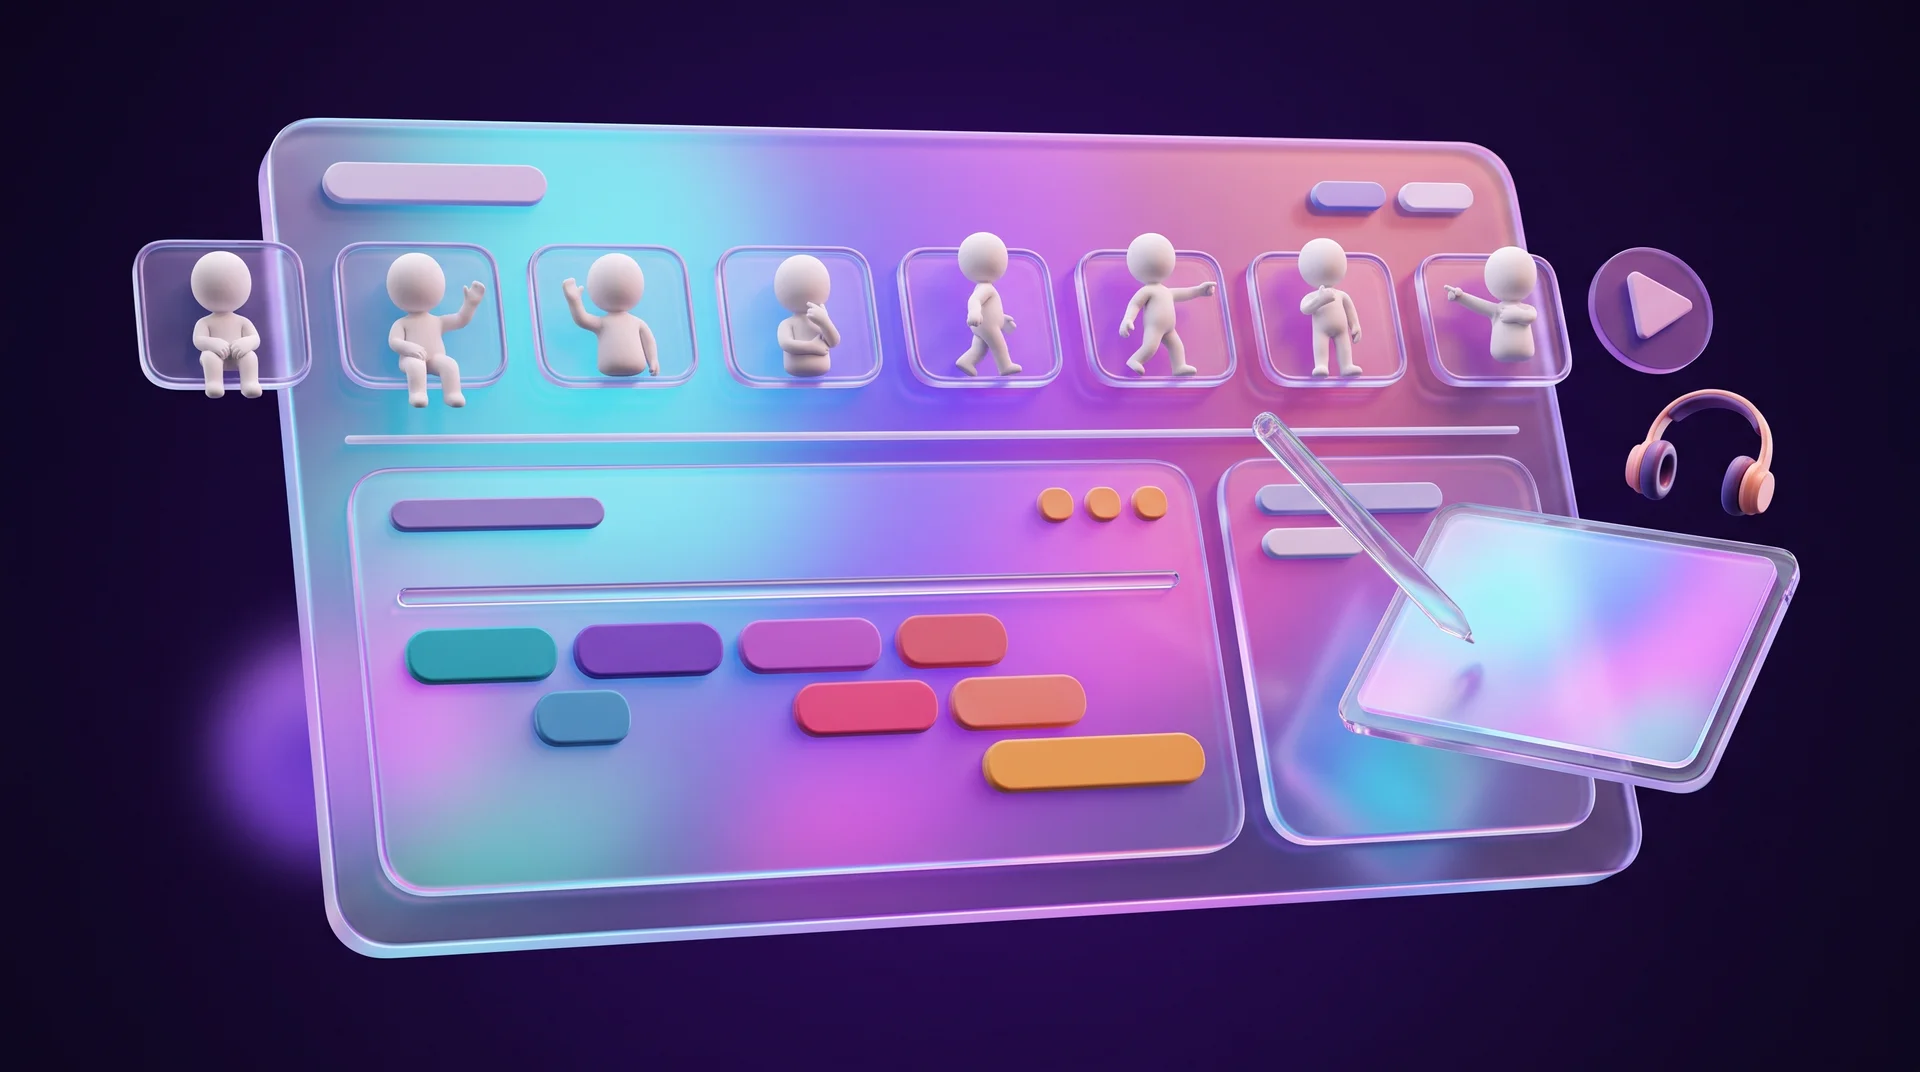
Dedicated tools let you do more than draw: you can manage the shot sequence, add the script, sound and timing, and create an animatic:
- Storyboarder: free, open-source software for drawing frames, importing a script and building a simple animatic. It runs on Windows, macOS and Linux and works offline, but it has no real-time collaboration and its drawing tools are basic.
- Boords: script, storyboard, animatic and comments in the browser. Good for teamwork and client approvals, with fewer options for hand drawing. It is a paid subscription service.
- Storyboard That: you build scenes from ready-made characters and backgrounds, with no drawing skills needed. The library is large, but there is no full animatic and compositional freedom is limited. There is a limited free version and paid plans.
Common storyboarding mistakes
Starting to draw without a goal
A storyboard without a clear goal may look nice, but it does not help you decide anything. Before the first panel, write a single sentence: what should the viewer understand, and what should they do after watching?
Drawing too much detail
A storyboard is not meant to be a work of art. Time spent on faces and clothes is time not spent on structure, pacing and message. Simple shapes and arrows are enough.
Not counting seconds
In a 15- or 20-second video, every second counts. Without a duration for each panel, it is easy to plan a one-minute story and only find out in the edit.
Forgetting the packshot and the call to action
In a marketing video, the last frame is often the most important one from a business point of view. Give it enough time and plan a clear message, the logo and a single action: visit the website, send a message or buy.
Not getting sign-off from the people who will make the video
A storyboard that only one person has seen does not prevent surprises. Show it to the camera operator, the editor and whoever is responsible for the brand before the shoot day, because at that point you can still change almost everything for free.
How RJL Studio helps you produce videos that work
At RJL Studio, we build a business's visual content as part of its whole marketing system: from concept and storyboard, through motion graphics and AI-assisted video, to placing the video on your website and in your campaigns. We plan every video around the platform where it will be shown and the business goal behind it, and connect it to landing pages and results tracking, so you can see what the video actually does for you.
If you are planning a video campaign on social media, take a look at our campaigns and social media marketing service. If the video is part of building a new brand or a rebrand, see our branding service. Want to talk about your next video? Get in touch and we will get back to you.
Frequently asked questions
What is a storyboard, in simple terms?
A storyboard is a sequence of simple drawings that shows a video before it is filmed: what you see in each shot, from which angle, what moves and what you hear. It works as the shooting plan and as a coordination tool between the client, the director, the camera operator and the editor.
Do you need to be able to draw to make a storyboard?
No. Simple shapes, stick figures and arrows are enough. You can also use photos of the location, screenshots or tools such as Storyboard That and Canva with ready-made characters and backgrounds. What matters is that the sequence is easy to follow.
What is the difference between a storyboard and a shot list?
A shot list is a written list of the shots to be filmed, in order, and the crew works from it on the shoot day. A storyboard shows the same shots as drawings, so you can see the composition, the angle and the movement. Usually both are prepared in parallel.
Do you need a storyboard for a short social media video?
Yes, even more than for a long one. In a 15-second video every second counts, and the hook in the first few seconds decides whether anyone watches at all. A short storyboard of five or six panels is enough to test the message, the pacing and the final frame.
Can you create a storyboard with AI?
You can use AI to generate images for the panels, suggest how to break a scene into shots or turn the storyboard into prompts for a video generator. It is still best to have a person decide the message, the shot order and the pacing, and check that the character and style stay consistent throughout the video.
Disclaimer: blog content is for general information and learning only and is accurate as of its publication date. It is not professional, legal, financial or business advice, nor a recommendation or call to take any action. Any use of this information is at the reader's own risk, and we accept no liability for any resulting loss. Links to external websites and tools are provided for convenience only. We recommend consulting a qualified professional before making decisions.