


Figma Guide: What Figma Is and How to Get Started
Everything you need to start working in Figma: from the interface and basic tools to prototypes, plugins and handing designs off to development.
Figma is one of the core tools for interface designers today. It is where websites and apps are designed, prototypes are built and user flows are tested, all in the browser and together with your team. In this Figma guide, we explain how the tool works and what to learn first.
We will cover:
- what Figma is and why you need it;
- how to get started and how the interface is organized;
- which tools speed up work on a project;
- how to build a prototype and why you need plugins;
- what is new in Figma: AI, Dev Mode and other products;
- how a design moves from Figma to a live website.
What Figma is and why you need it
Figma is a browser-based design tool for building digital products: websites, apps and interfaces. Several people can work on the same file in real time, leave comments and see every change instantly.
Designers, developers and product teams love Figma because it is flexible and easy to use. Here are the main use cases:
- UX/UI design for websites and apps. The designer builds the product structure and can immediately check what the user journey will look like. If the topic is new to you, start with our UX/UI guide.
- Prototypes and user flows. You can show how users move between screens: for example, clicking a product card opens the product page, and clicking a button opens the shopping cart.
- Dev Mode. A mode where developers get all the measurements, properties and code snippets they need to build the design, right inside Figma.
Business owners should know Figma too: a well-organized Figma file is a shared language between the business owner, the designer and the developer. It shows what the website will look like before a single line of code is written.
How to get started with Figma
You can start in the browser version without downloading anything. If you work in Figma every day, you can install the desktop app. The interface and features of the browser and desktop versions are almost identical.
To get started, create an account at figma.com. You can sign up with an email address or a Google account. After logging in, you land in your workspace: this is where all your files, projects and shared documents live.
There are also apps for Windows and macOS, plus mobile apps for iOS and Android. You can download them from the Figma downloads page.
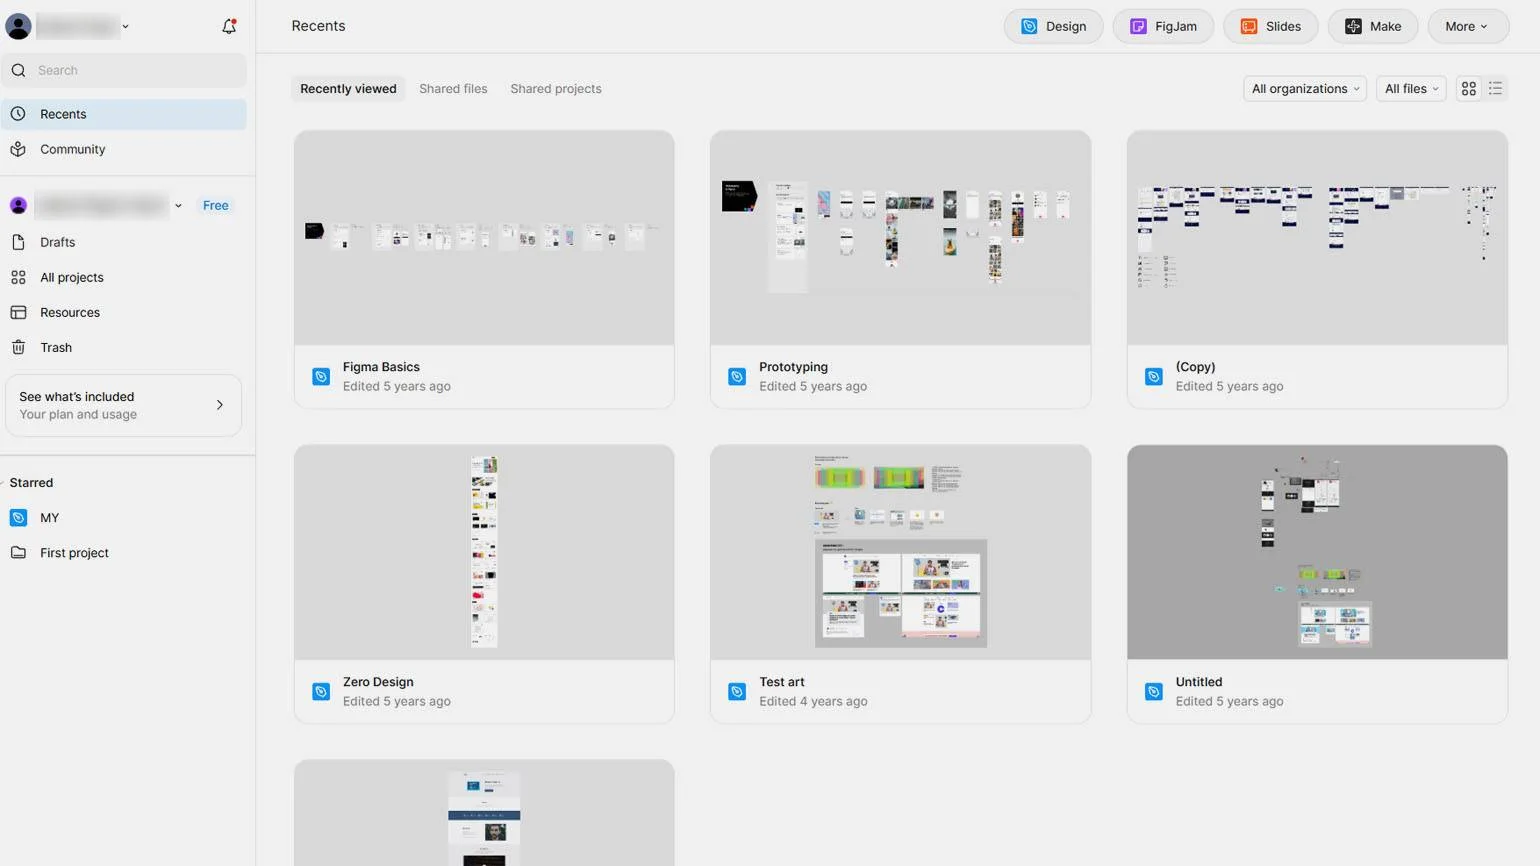
To create a new file, click the Design button in the top corner. An editor with a large, empty canvas will open.
How much Figma costs
Figma has a free plan, which is enough to learn the tool and work on small projects. Paid plans add features for teamwork, project management and advanced workflows, and some tools, such as Dev Mode, are available only on paid plans. Prices change from time to time, so check the official pricing page before choosing a plan.
The Figma interface: the main areas
To start working, you only need to know four areas of the interface.
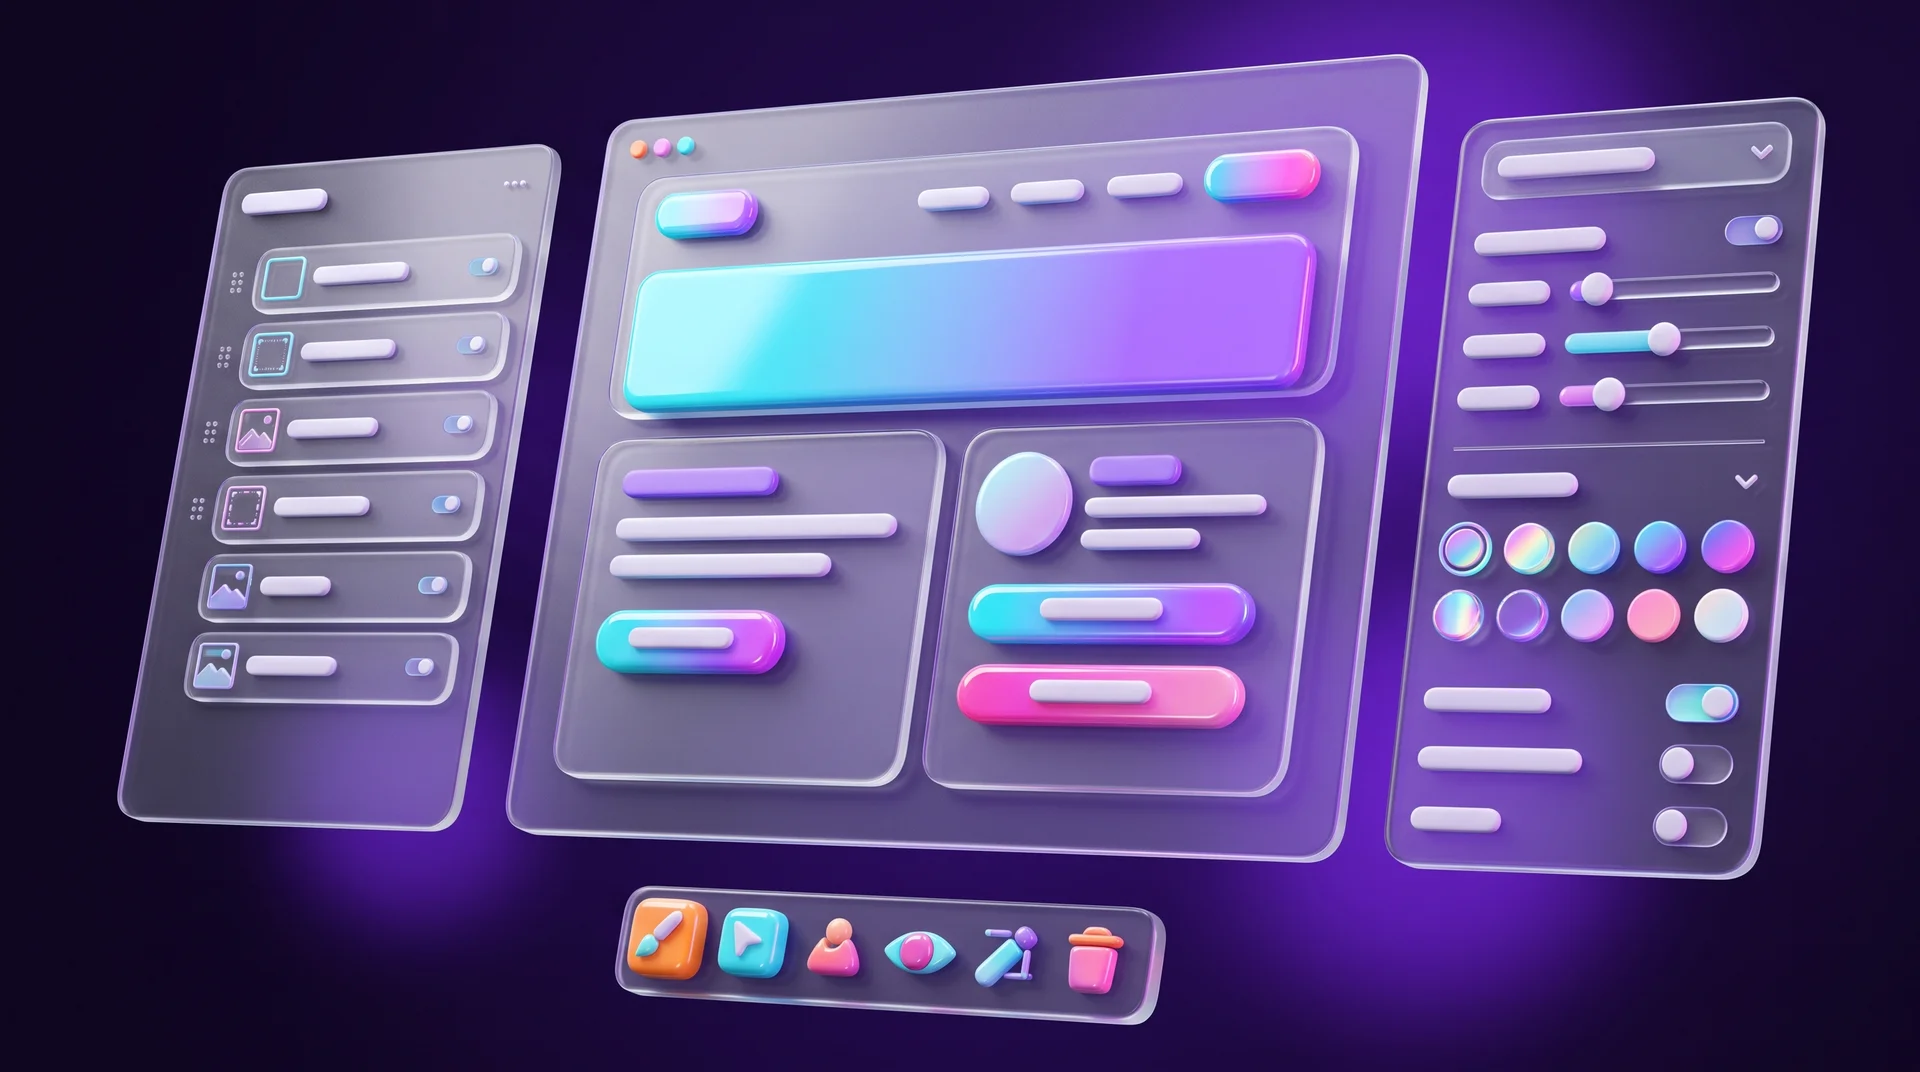
- The toolbar sits at the bottom of the editor. It holds the tools for creating frames, text, shapes and other objects.
- The Layers panel is on the left. Every object you create appears here, and when a design has many elements, it helps you understand the structure and quickly select the right object.
- The canvas is the work area in the center of the screen. It holds the frames and all the objects, and it is where you put the design together.
- The Properties panel is on the right. This is where you change size, position, color, font, stroke, corner radius and other settings of the selected object.
The logic is simple: select an object, find the property you need on the right and change it. Select text and you see font, size and color settings. Select a rectangle and you see the shape settings.
What you can do in Figma
Figma has a lot of features, but it makes sense to start with five main areas.
Design interfaces for websites and apps
This is Figma's core job. You can build individual screens, website pages or an entire system of interfaces. A design is assembled from basic elements such as text, images and shapes, which you then resize, align, group and turn into more complex components. To make a design look right, it helps to know the rules of composition.
Build prototypes
A prototype is almost a working app or website, just inside the design editor. You connect several screens into an interactive flow: elements respond to clicks, and transitions between screens look like they would in the real product.
Work with graphics and images
In Figma you can add images, create simple vector objects, change fills and strokes, and add rounded corners, transparency and effects. Need images for your design? In our AI photoshoot guide, we explain how to create them with artificial intelligence.
Build a design system
Recurring elements such as cards, buttons and form fields become components that you reuse again and again. Step by step, this grows into a design system: a set of components and rules that keeps the style consistent across the entire product.
Use plugins and automation
Plugins help you work with text and images, save repetitive actions, generate content and use AI tools.
Tools that speed up your work in Figma
Once you understand how to work with objects, you can move on to the tools that dramatically speed up interface design.
Frames and Grids
A frame is a container that holds interface elements. For example, an entire app screen or website page can be a single frame.
Frames help you organize a design and control its content. Inside a frame you can place individual elements such as text, images and buttons, as well as other frames.
Grids help you align elements and build a clear structure. They are especially important in web design, where a precise layout is the foundation of good development.
Components and Variants
A component is an element you can reuse throughout a design.
Say your interface has ten identical buttons. If each one is created separately, every design change has to be made ten times. A component lets you create one main element and use its copies (instances) everywhere.
Variants group the different states of the same component. For example, a button can have Default, Hover and Disabled states.
This makes it easy to keep the product up to date: you change the main component, and the change updates automatically in every instance.
Auto Layout
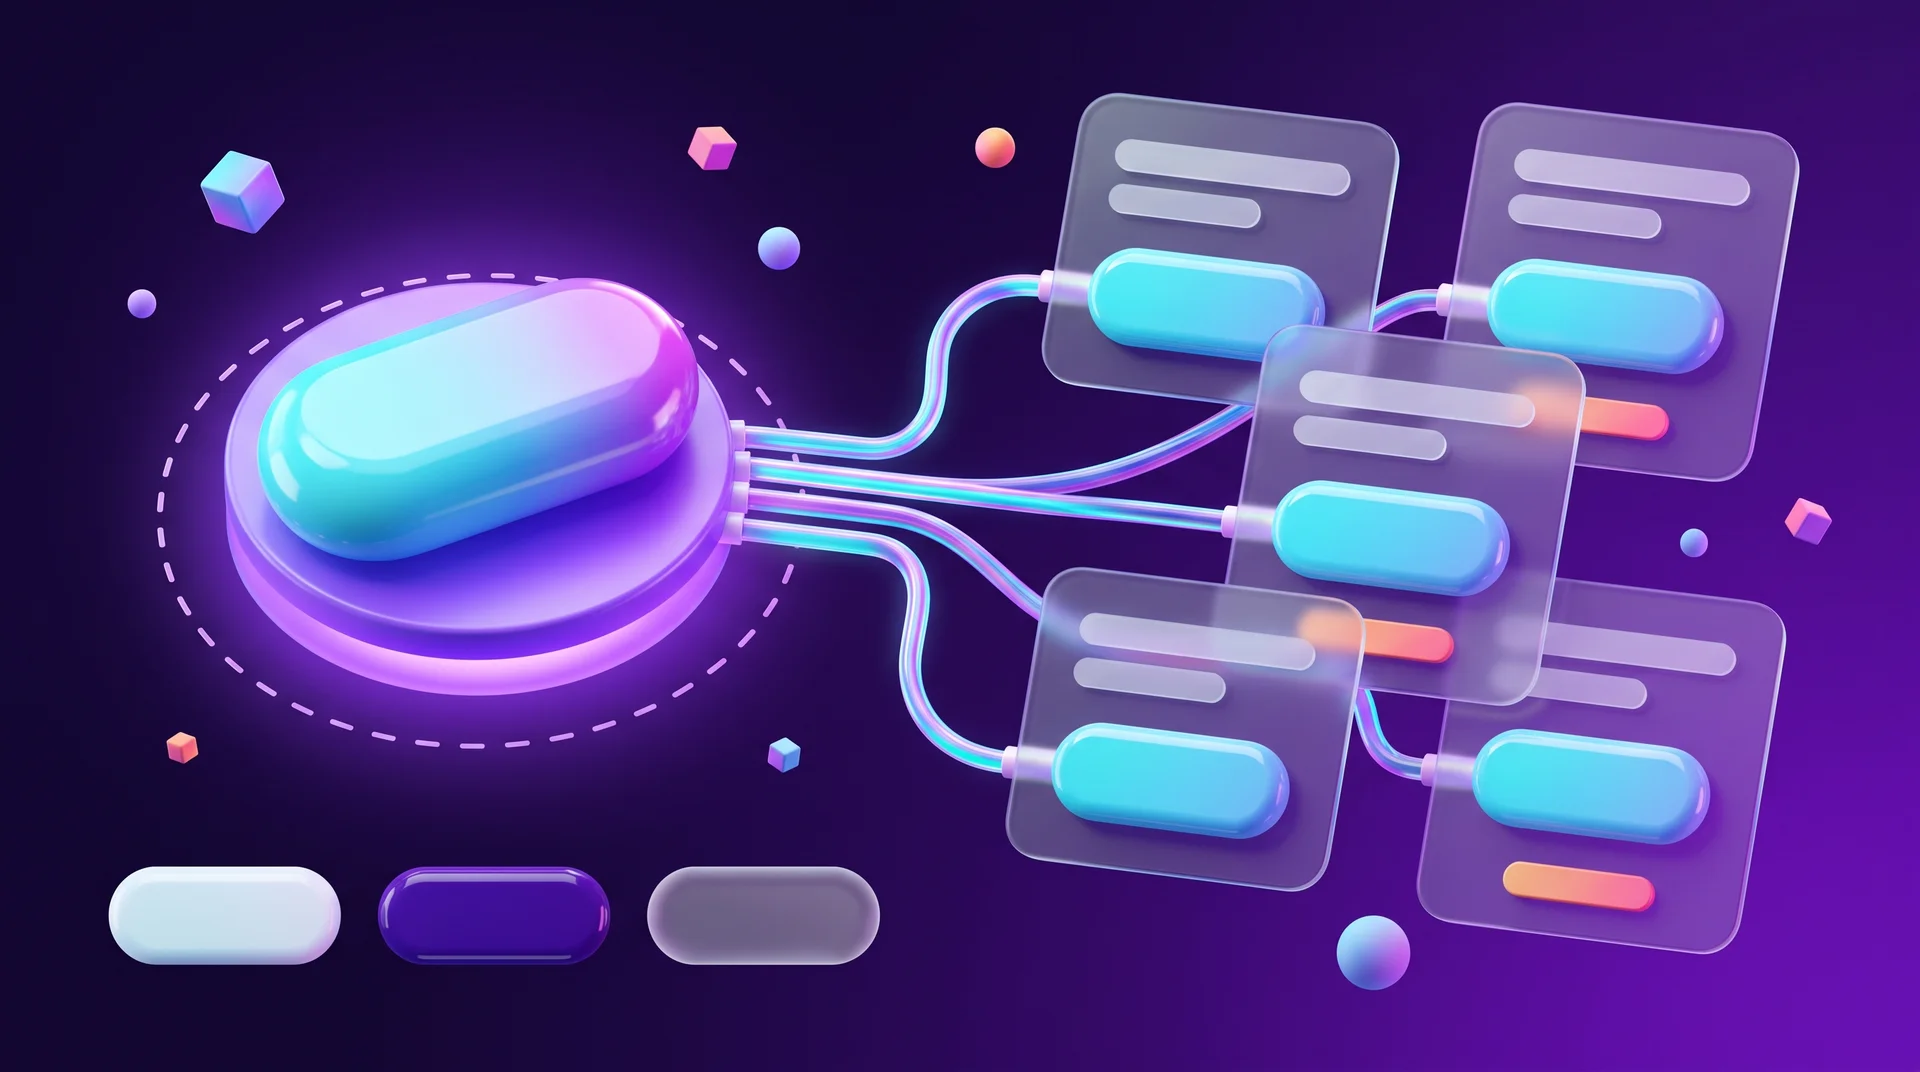
Auto Layout arranges elements automatically based on their size and the spacing between them.
For example, your project has a button labeled "Log in". If you change it to "Log in to your account", a button with Auto Layout expands on its own and keeps the padding around the text.
The tool is especially useful in interfaces where content changes. Instead of moving elements by hand after every change, the designer sets rules for how they are arranged. There is another bonus: Auto Layout follows logic similar to Flexbox, so a properly built design is much easier to hand off to development.
Effects and visual styling
You can add fills, strokes, transparency, rounded corners, shadows and other effects to objects. For example, a plain rectangle becomes a card with a background color, rounded corners and a soft shadow.
Figma now also has built-in AI features: you can fill a design with context-appropriate content, generate screen variations and create visual effects from a text description. The result always needs to be reviewed and refined. For complex image editing, dedicated software is still the better choice.
How to build a prototype in Figma
A prototype is an interactive version of your design. It lets you plan not only how the interface looks, but also how people use it and move between screens. For example, if you designed a home page, a catalog and a product page, in Prototype mode you can link a button or card to the right screen and navigate to it with a click.
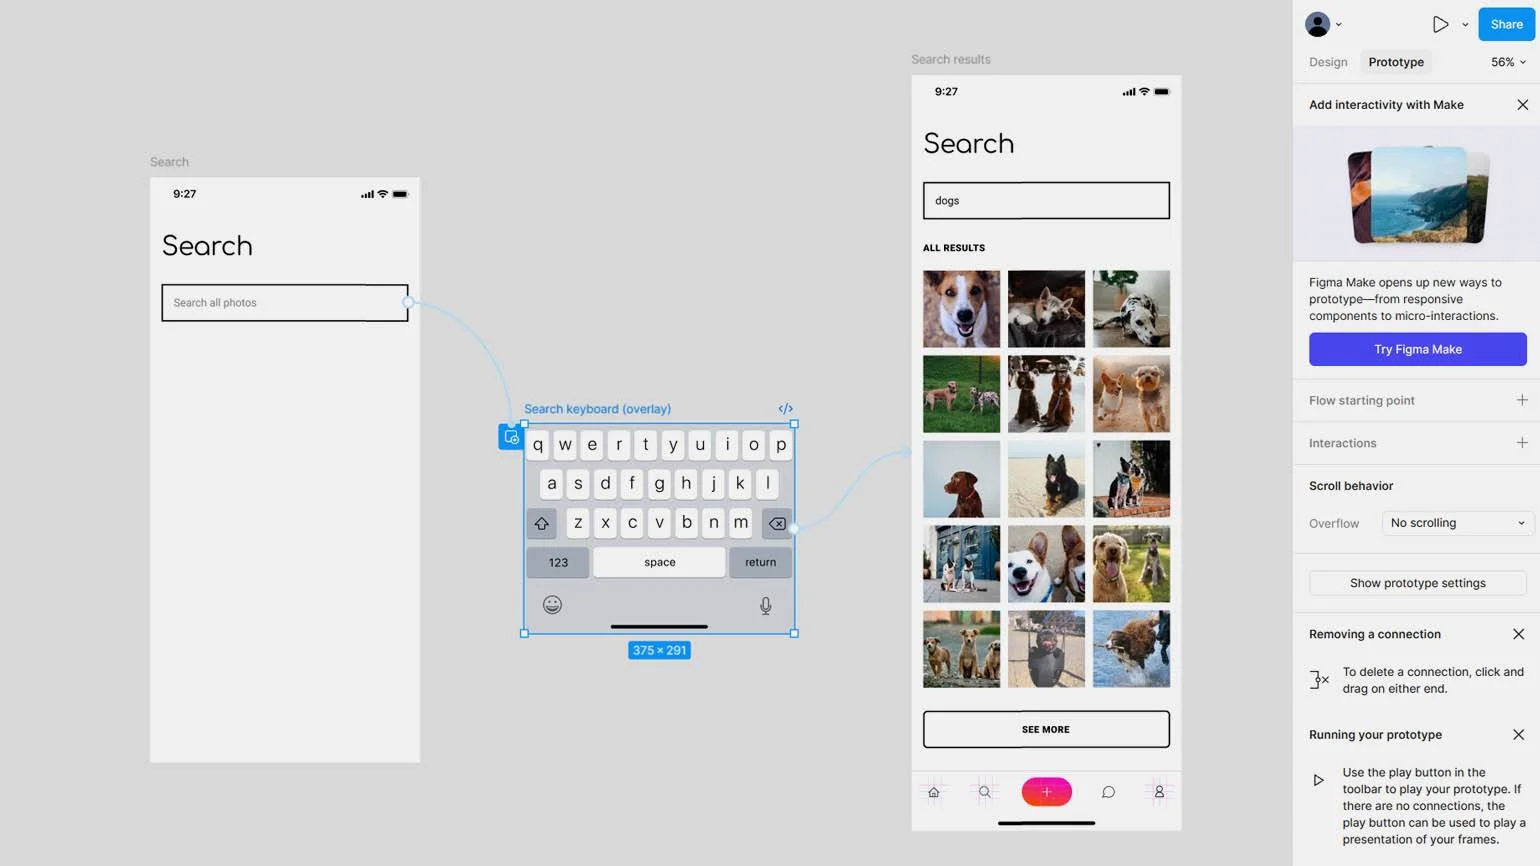
You can run the prototype in presentation mode and click through it like a real interface. This way you catch navigation problems before development and present the project to a client or management in a tangible way.
Start with simple tasks: connect frames and set up transitions. Later you can move on to complex animations and interactive components.
Figma plugins: why you need them and what types exist
Plugins are add-ons that extend what Figma can do: they add content and components, make working with objects easier and save repetitive actions. You can find them in the Figma Community.
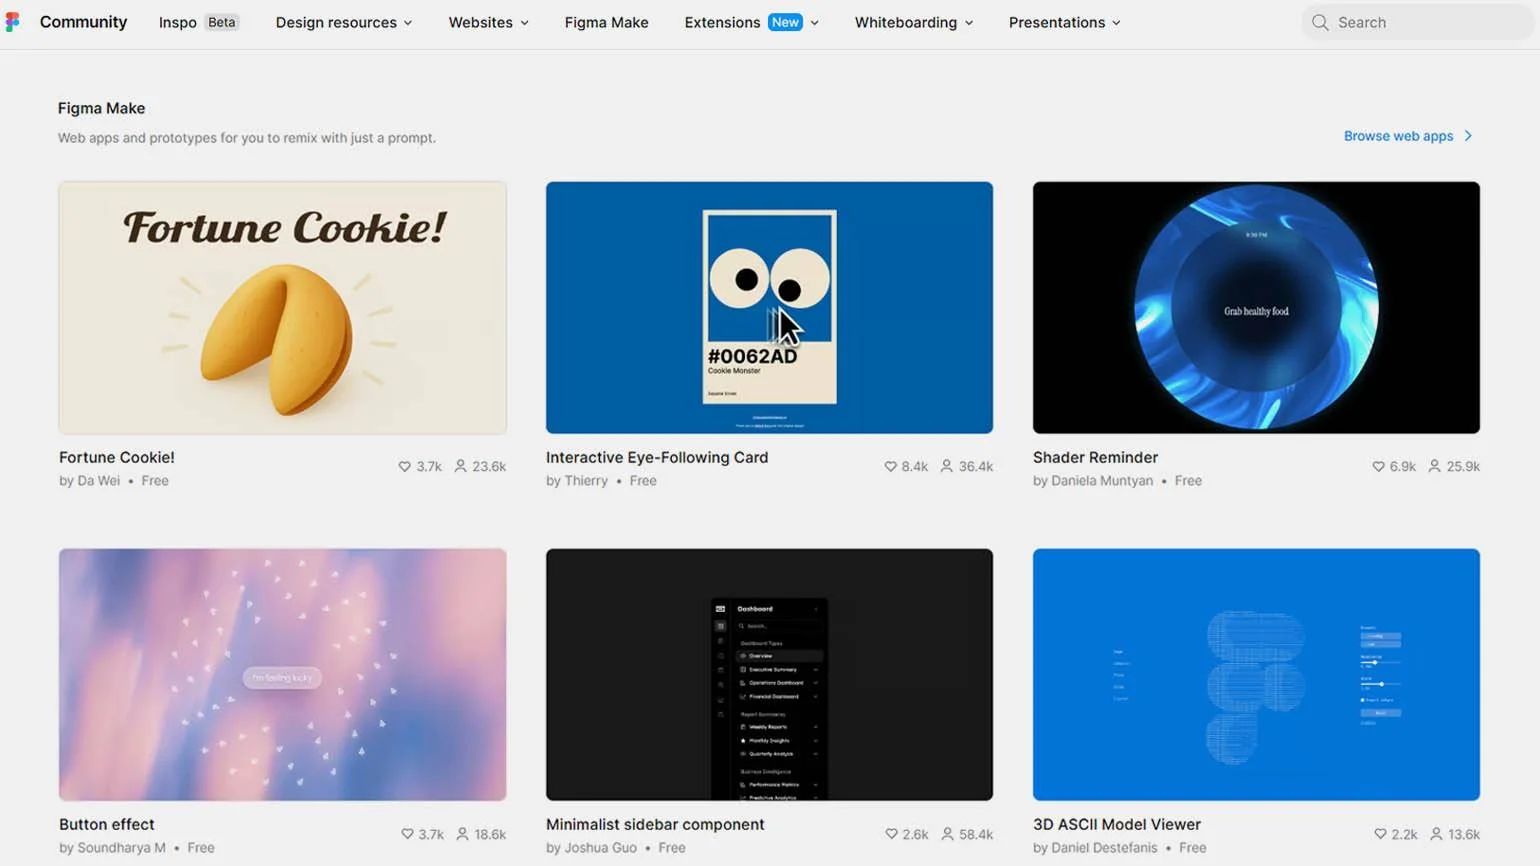
Plugins can be grouped by the task they solve:
- Productivity plugins save routine actions such as renaming layers, aligning objects and more. For example, Remove BG removes the background from several images at once.
- Text plugins help you edit, generate and replace content, and fill designs with realistic data. If you work with right-to-left languages, make sure the text displays correctly.
- Image plugins let you quickly find and add photos, avatars, illustrations and icons. For example, Icons8 offers a large library of icons, illustrations and photos.
- AI plugins help you generate content, work on designs and get from idea to prototype faster. The result still needs to be reviewed.
- Automation plugins perform a chain of actions for the designer or process many objects at once: finding identical objects, inserting data from a spreadsheet or importing logos. For example, Brandfetch adds company logos to your design.
What is new in Figma: AI, Dev Mode and other products
One of the most notable additions is Figma Make, an AI tool that generates interactive prototypes, individual components and even complete interfaces from a prompt. You can, and should, edit the result. To create a Make file, choose the Make option in the top corner of the files screen.
Dev Mode: handing designs off to development
Dev Mode makes design handoff to developers easier and lets them:
- quickly scan the structure of a design;
- get exact measurements, spacing and properties for every element;
- get code snippets that help build the interface.
From Figma to Webflow
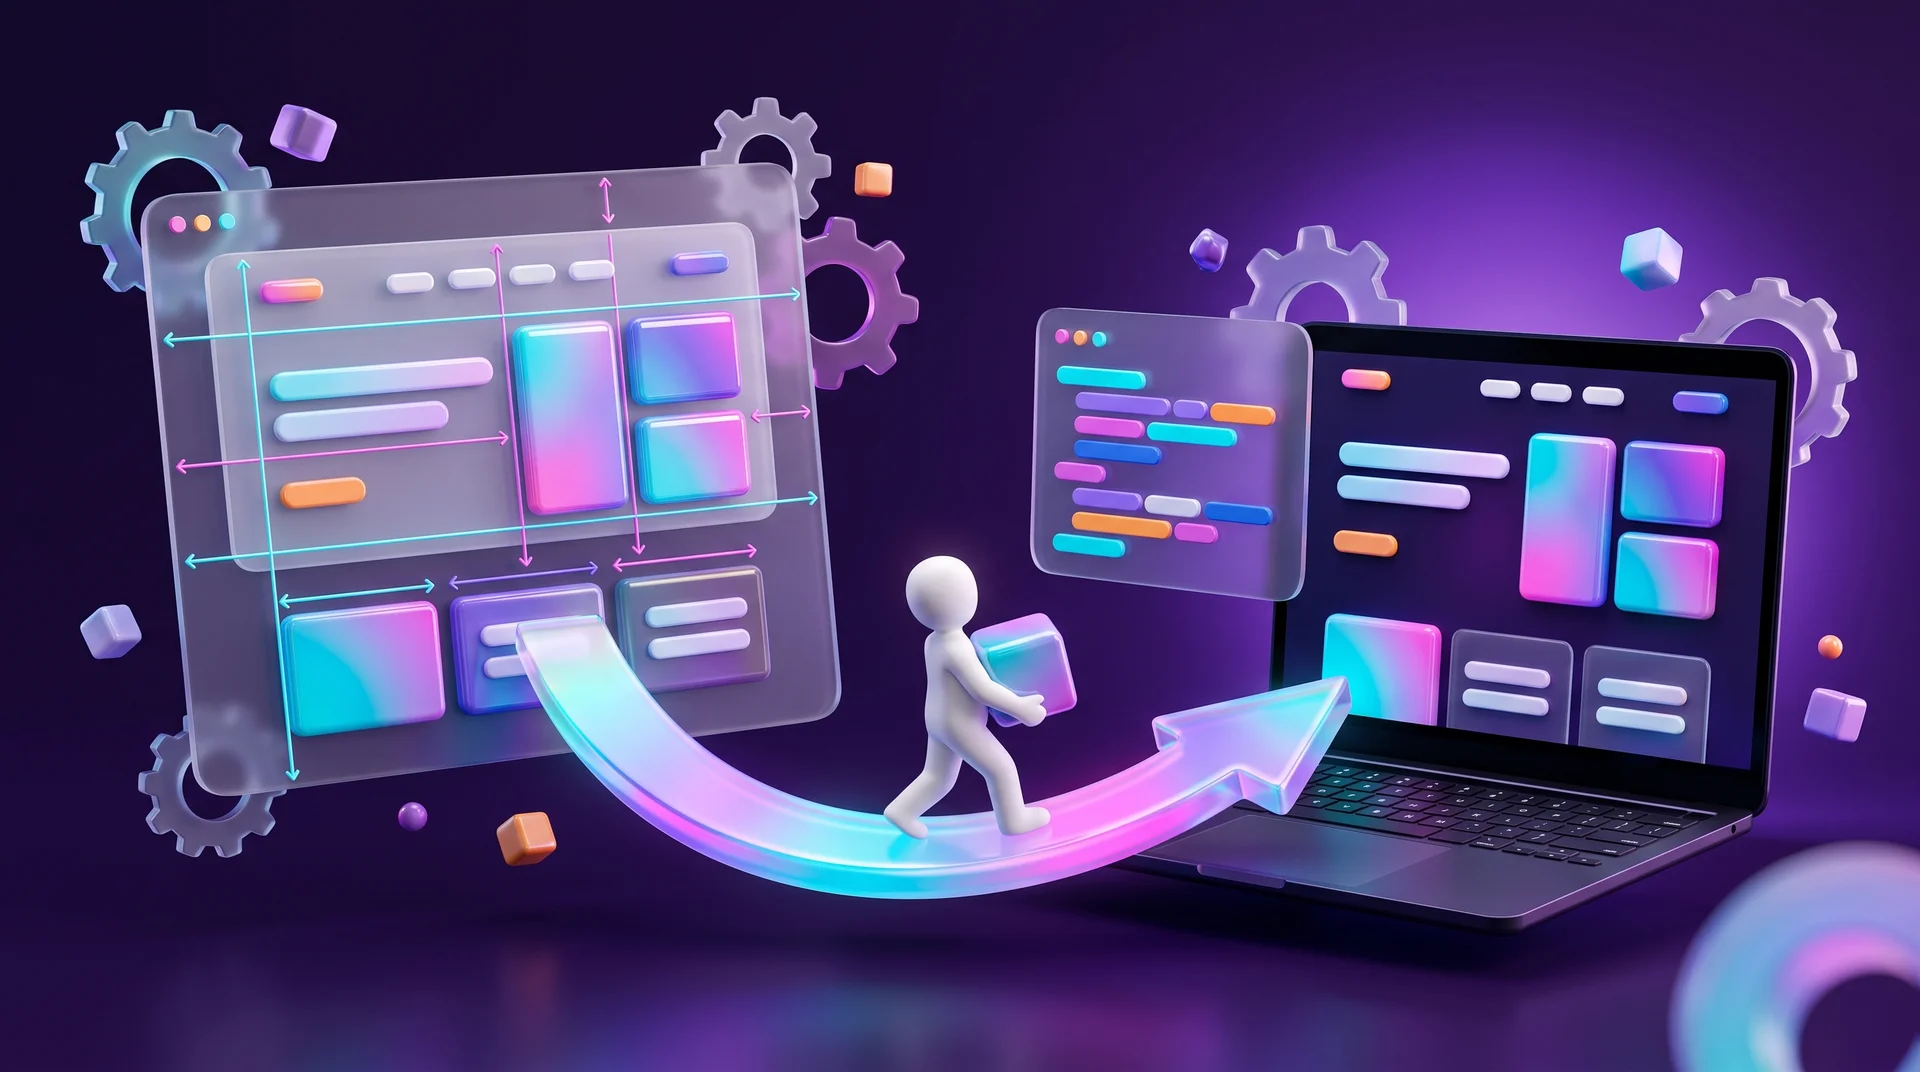
If your website is built in Webflow, the path from Figma is especially short. Webflow has official tools for bringing components and styles over from Figma, and a design built with Auto Layout and components translates naturally into the site structure. Still, even the best tools do not replace professional work: mobile responsiveness, CMS integration, performance and SEO still require a developer. Read more about Webflow website development.
Other products in the Figma ecosystem
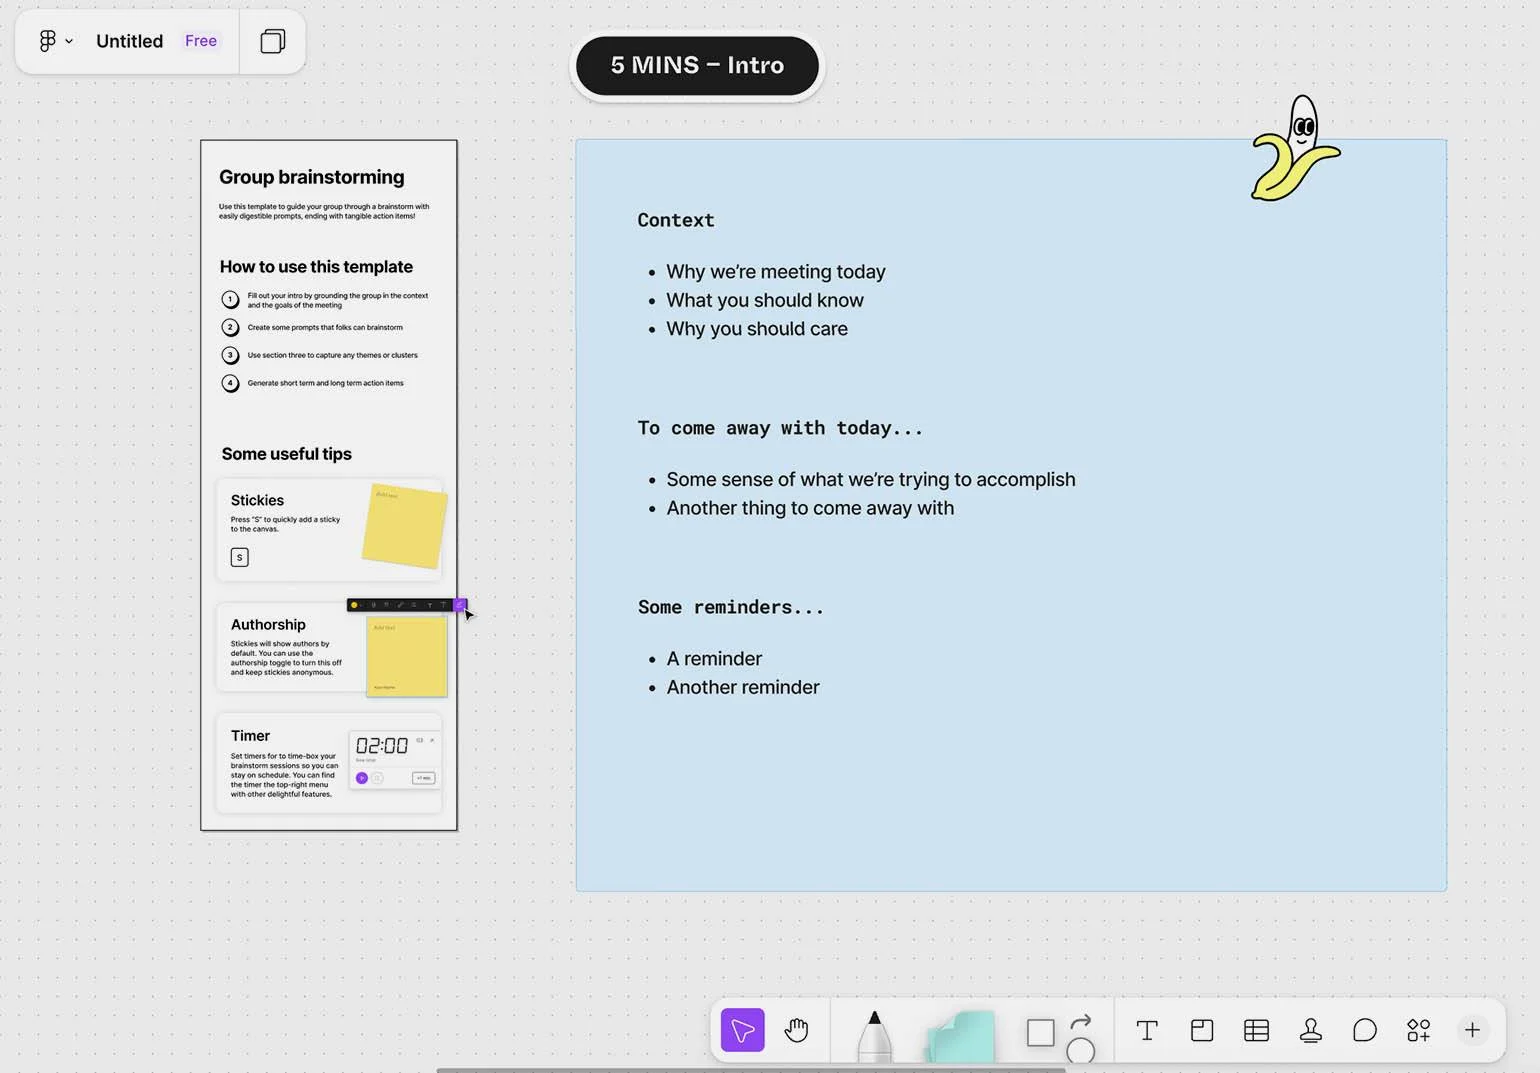
- FigJam – a digital whiteboard for brainstorming and collaboration;
- Figma Slides – for creating presentations;
- Figma Sites – for building and publishing websites.
How to learn Figma
If you are a complete beginner, start with the interface: create a file, add a frame, some text and a few shapes. Practice moving objects and changing their size, color and other properties.
Once the basics are clear, move on to the advanced tools: components, variants, Auto Layout and styles, and level up your work with effects and plugins. These tools let you go from individual objects to structured interfaces.
Next step: build a small prototype of a few screens. A good exercise is to recreate a familiar interface in Figma. Pick one screen from an app you like and try to build it yourself. To find interfaces worth learning from, use competitor analysis and benchmarking. This way you learn to solve a real design problem, not just draw buttons.
If you work on a product team, it is worth learning Prototype mode and Dev Mode too. Free resources are enough to get started: tutorials, videos and feature explainers, including Figma's official learning materials.
How RJL Studio works with Figma
At RJL Studio, every project starts in Figma. We plan the user experience, design the interface and build a well-organized component system with components and Auto Layout, so the design stays consistent and easy to update. You see a clickable prototype and approve it before development begins.
After approval, we take the design into development in Webflow or WordPress: a responsive, CMS-connected, SEO-optimized website that looks exactly like the design.
Want a design that turns into a live website with no surprises? Read about our UX/UI design services or get in touch and we will get back to you.
Figma FAQ
What is Figma, in simple terms?
Figma is a browser-based design tool for designing website and app interfaces, building prototypes and preparing designs for handoff to developers. Several people can work on the same file at the same time and leave comments.
Is Figma free?
Figma has a free plan that is enough to learn the tool and work on small projects. Paid plans add features for teamwork and advanced workflows, such as Dev Mode. Check the Figma website for current prices.
Is Figma good for beginners?
Yes. At first you only need a few basic tools: frames, text, shapes, layers and properties. Then you gradually move on to components, Auto Layout and prototypes. You do not need to learn every feature at once.
Can I use Figma without installing anything?
Yes. Figma runs in the browser, so all you need is to log in to your account. You can also install the app for Windows or macOS, and the core features are the same in both versions.
What is the difference between Figma and Photoshop?
Figma is designed mainly for building interfaces and digital products: website and app design, components, prototypes and collaboration. Photoshop focuses on image editing: retouching, color correction and complex graphics work. Designers sometimes use both, but for interface design Figma is the more convenient choice.
How do you turn a Figma design into a live website?
A developer builds the website based on the design, using Dev Mode and tools for transferring components, for example to Webflow. A design built with components and Auto Layout moves into development faster and more accurately.
Disclaimer: blog content is for general information and learning only and is accurate as of its publication date. It is not professional, legal, financial or business advice, nor a recommendation or call to take any action. Any use of this information is at the reader's own risk, and we accept no liability for any resulting loss. Links to external websites and tools are provided for convenience only. We recommend consulting a qualified professional before making decisions.